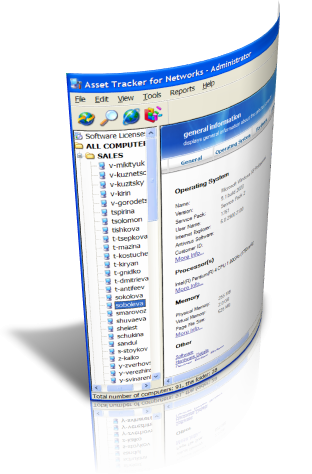
Asset Tracker for Networks consists of the two modules: The Client module (clientcon.exe) and the Administrator's Workplace (admin.exe). To use this product on your local area network, please:
1. Configure all the user's workstations to run the clientcon.exe application. The easiest way to do this is to place the Client files in a public shared folder and add the clientcon.exe launch command to the user's logon scripts
2. Configure the clientcon.exe module to output the users workstations information to a folder that can be accessed by the Network Administrator
3. Configure the admin.exe Administrator's module to read the users workstations data from this folder.
Installation and setup (step-by-step)1. Download the atn.zip file from our site and unpack it to your hard disk.
2. Create a folder on a shared server disk and name it ATN. This folder will contain Assets Tracker Client executable, it's configuration file and the data files containing information about the user's computers
3. Run Admin.exe, click File|Preferences and specify the path to the previously created folder in the "Path to data files folder" option. Please use UNC names only in this option.
4. Copy the clientcon.exe, ATN.ini and all DLL files to the previously created folder
5. Add the clientcon.exe launch command to the user's logon scripts
How it worksWhen a user logs into the network, the logon process executes the logon script specified for this user. This logon script will launch the clientcon.exe console application that collects information about the user's computer and writes the output to the COMPUTERNAME.XML file in the shared data folder. When the Network Administrator starts the Admin.exe module, this asset management software program reads the user information files from this data folder and shown it to the Administrator in easy and understandable way.
